The Main Principles Of Tin Roofing
Table of ContentsThe Facts About Tin Roofing UncoveredA Biased View of Tin RoofingThe 8-Second Trick For Tin RoofingNot known Facts About Tin Roofing
Family Members Handyman Full DIY projects like a professional! Enroll in our newsletter! Action 3 Before you mount the trim, cut as well as bend the leading end to cover it around the corner. Make a series of one-inch cuts with aeronautics snips at each bend to produce tabs. Fold up the tabs in with a hand seamer to meet a wall or a corner, or to close a void created by the trim.Family Handyman Step 4 Fasten eave trim Install the eave trim limited to the fascia and also secure it to the roofing system deck over the underlayment with one-inch roofing nails. In warmer environments, the eave is attached prior to the underlayment. In north Wisconsin, where ice dams are typical, we install these atop the underlayment to secure the entire roofing from dams.
Reduced the lower hem of the underlapping trim at an angle. After installing the underlapping trim, use sealant on top.
Make a mark along the eave three feet (or any kind of multiple of 3) from the corner. At that mark, determine 4 feet (or the same multiple of four) towards the ridge. After that, from the original edge, measure five feet (or the very same multiple of five) and mark where it converges the 2nd mark.
Tin Roofing Can Be Fun For Everyone
Run a bead of sealant in addition to the closure strip, then set your panel so it overhangs past the eave by one inch. Adjust the panel so any kind of dimension from it to the recommendation line coincides at the top and bottom. Household Handyman Step 8 Securing the panels ideal is the key to a watertight roof covering.
Make use of the increase to determine the incline aspect utilizing the formula (rise2 + run2) run, where the run is the range throughout that section of the roofing system from front to back. Finally, increase length by width by the incline aspect to discover the location of each section of roofing system. Combine the location of each area to discover the total location of your roof covering.
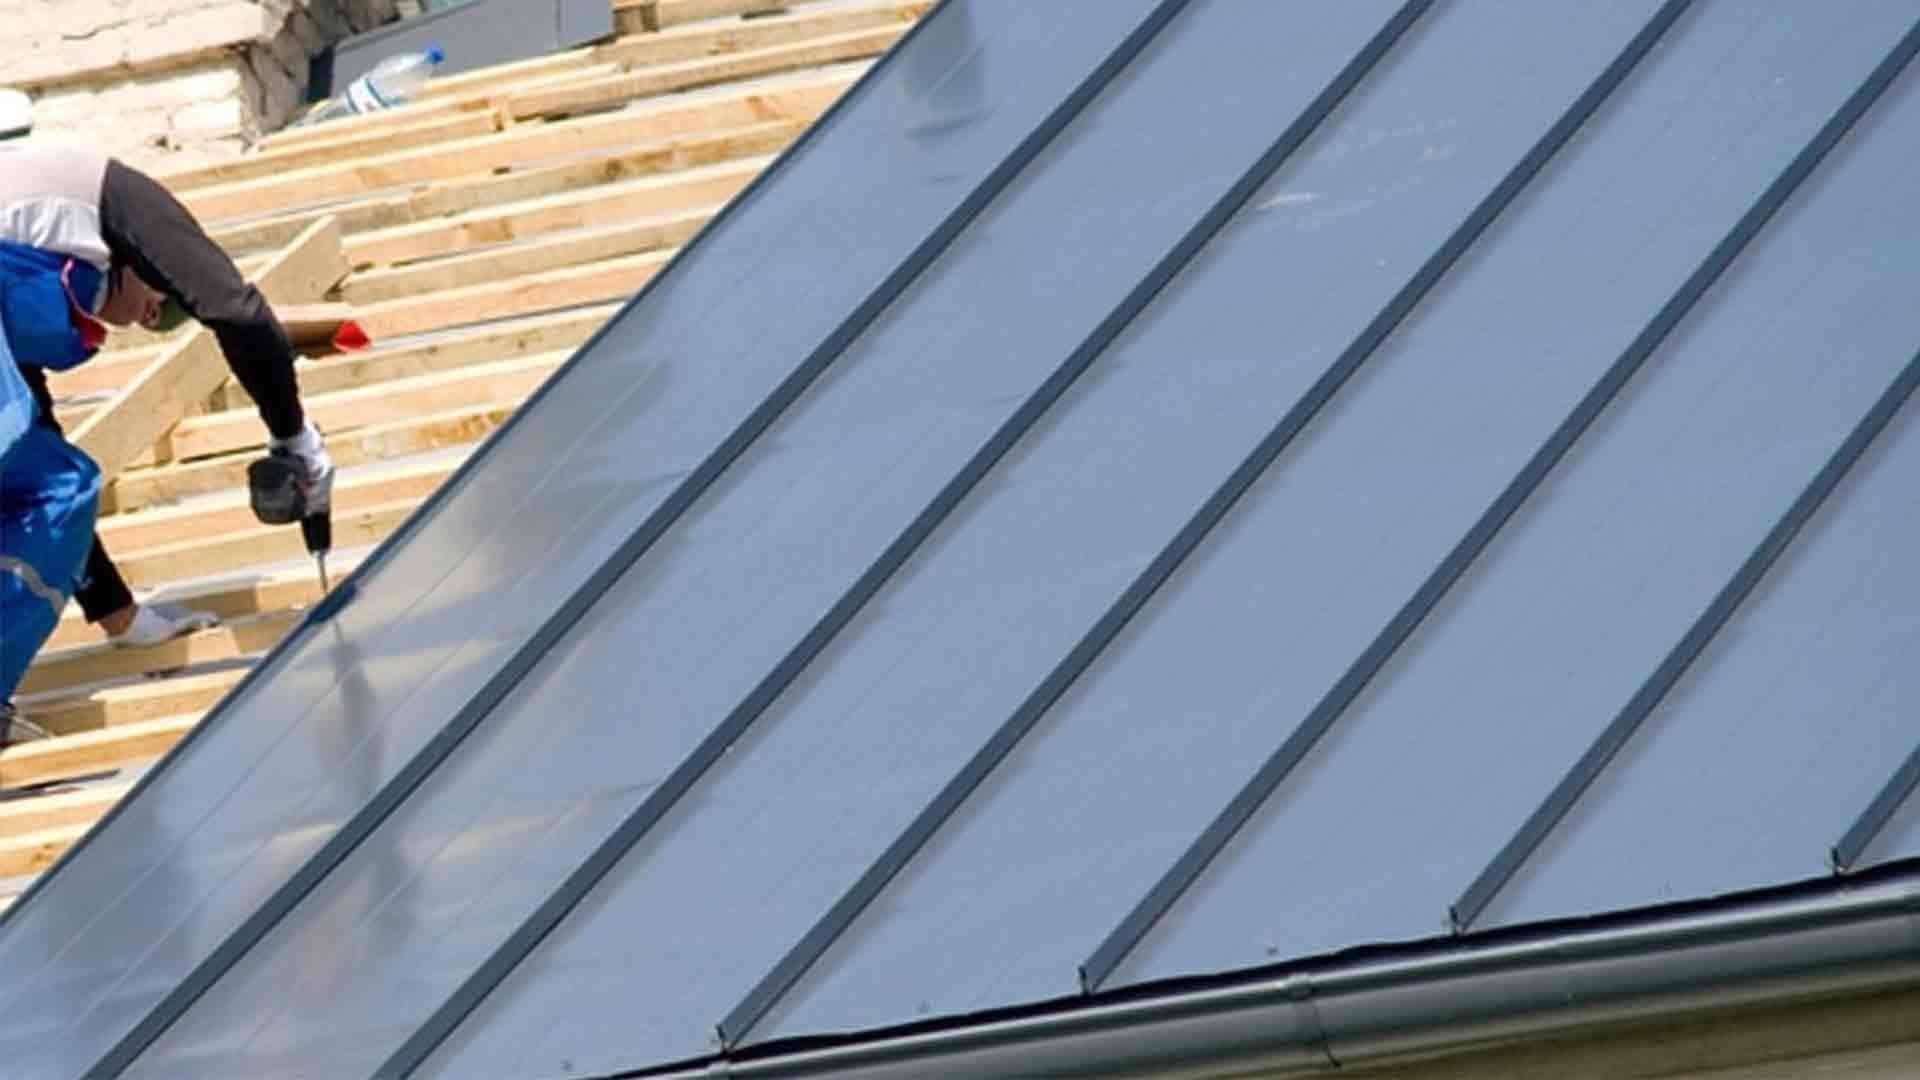
Currently it's time to add your steel roof panels. Constantly begin at the part of the roofing with the lengthiest distance between the optimal as well as the eaves. Safeguard each panel in area making use of neoprene washer head screws, spaced regarding 12 inches (30 centimeters) apart along the whole panel. Each brand-new panel must overlap with the one following to it by at least 1 inch (2.
— Cloud Links (@ldcloudlinks) February 13, 2023
When the entire roof covering is covered, add the flashing, which is a collection of steel strips that cover the joints where the various areas of the roofing meet. You'll need to cut the ends of the strips at the correct angle before installing them. Connect them with 1 to 2 rows of screws, relying on how wide they are - Tin Roofing.
Fascination About Tin Roofing

Here, we've detailed all the needed details you'll require to improve your existing roofing and also a step-by-step overview for metal roofing installation. Find Local Roof Solutions Free approximates based upon your roof, no call needed Commonly prices in between $1$25 per square foot Get your quote in 30 seconds Check This Out Similar to any type of residence remodelling, you'll need the right tools as well as products for the work.
They are as follows: Various kinds of metal roofing will certainly include different rate points. Whether you choose corrugated steel roof covering or steel tiles, you'll locate the ordinary cost per square foot (not including installation prices) here. $3. 75 $4. 25$4. 50 $4. 75$20 $25$1. 50 $2$3. 25 $3.
Prior to mounting, you must likewise think about wind exposure as well as your area environment, as this will influence the number of nails you utilize. You can substitute these for metal-to-wood screws for sure metal roof applications, such as corrugated roof setup (Tin Roofing). We suggest zinc-plated roofing screws, which come in a variety of shades to match your precise roof shade.
All About Tin Roofing
This leak-proof base layer looks at existing roofing system outdoor decking or substrate as well as will have a glue backing. Both butyl tape and caulk will have their uses. When joining 2 corrugated steel panels together, you ought to make use of a strip of double-sided butyl tape at the overlap factor to effectively seal out the components.

While setting up a steel roof on your own will go to this site certainly not come with the normal warranties or hassle-free procedure of hiring a roofer, it is still an excellent choice for most property owners. They can last much longer than their asphalt roof shingles equivalents and also will certainly develop a much more energy-efficient home due to fuller protecting from the aspects.